Sealed: Custom Wax Seal NFC Tags
tl;dr: I designed custom wax seals and embedded NFC tags underneath them. When you tap your phone to the seal, it pulls up a custom website that hosts pictures and videos from my time abroad (securely!).
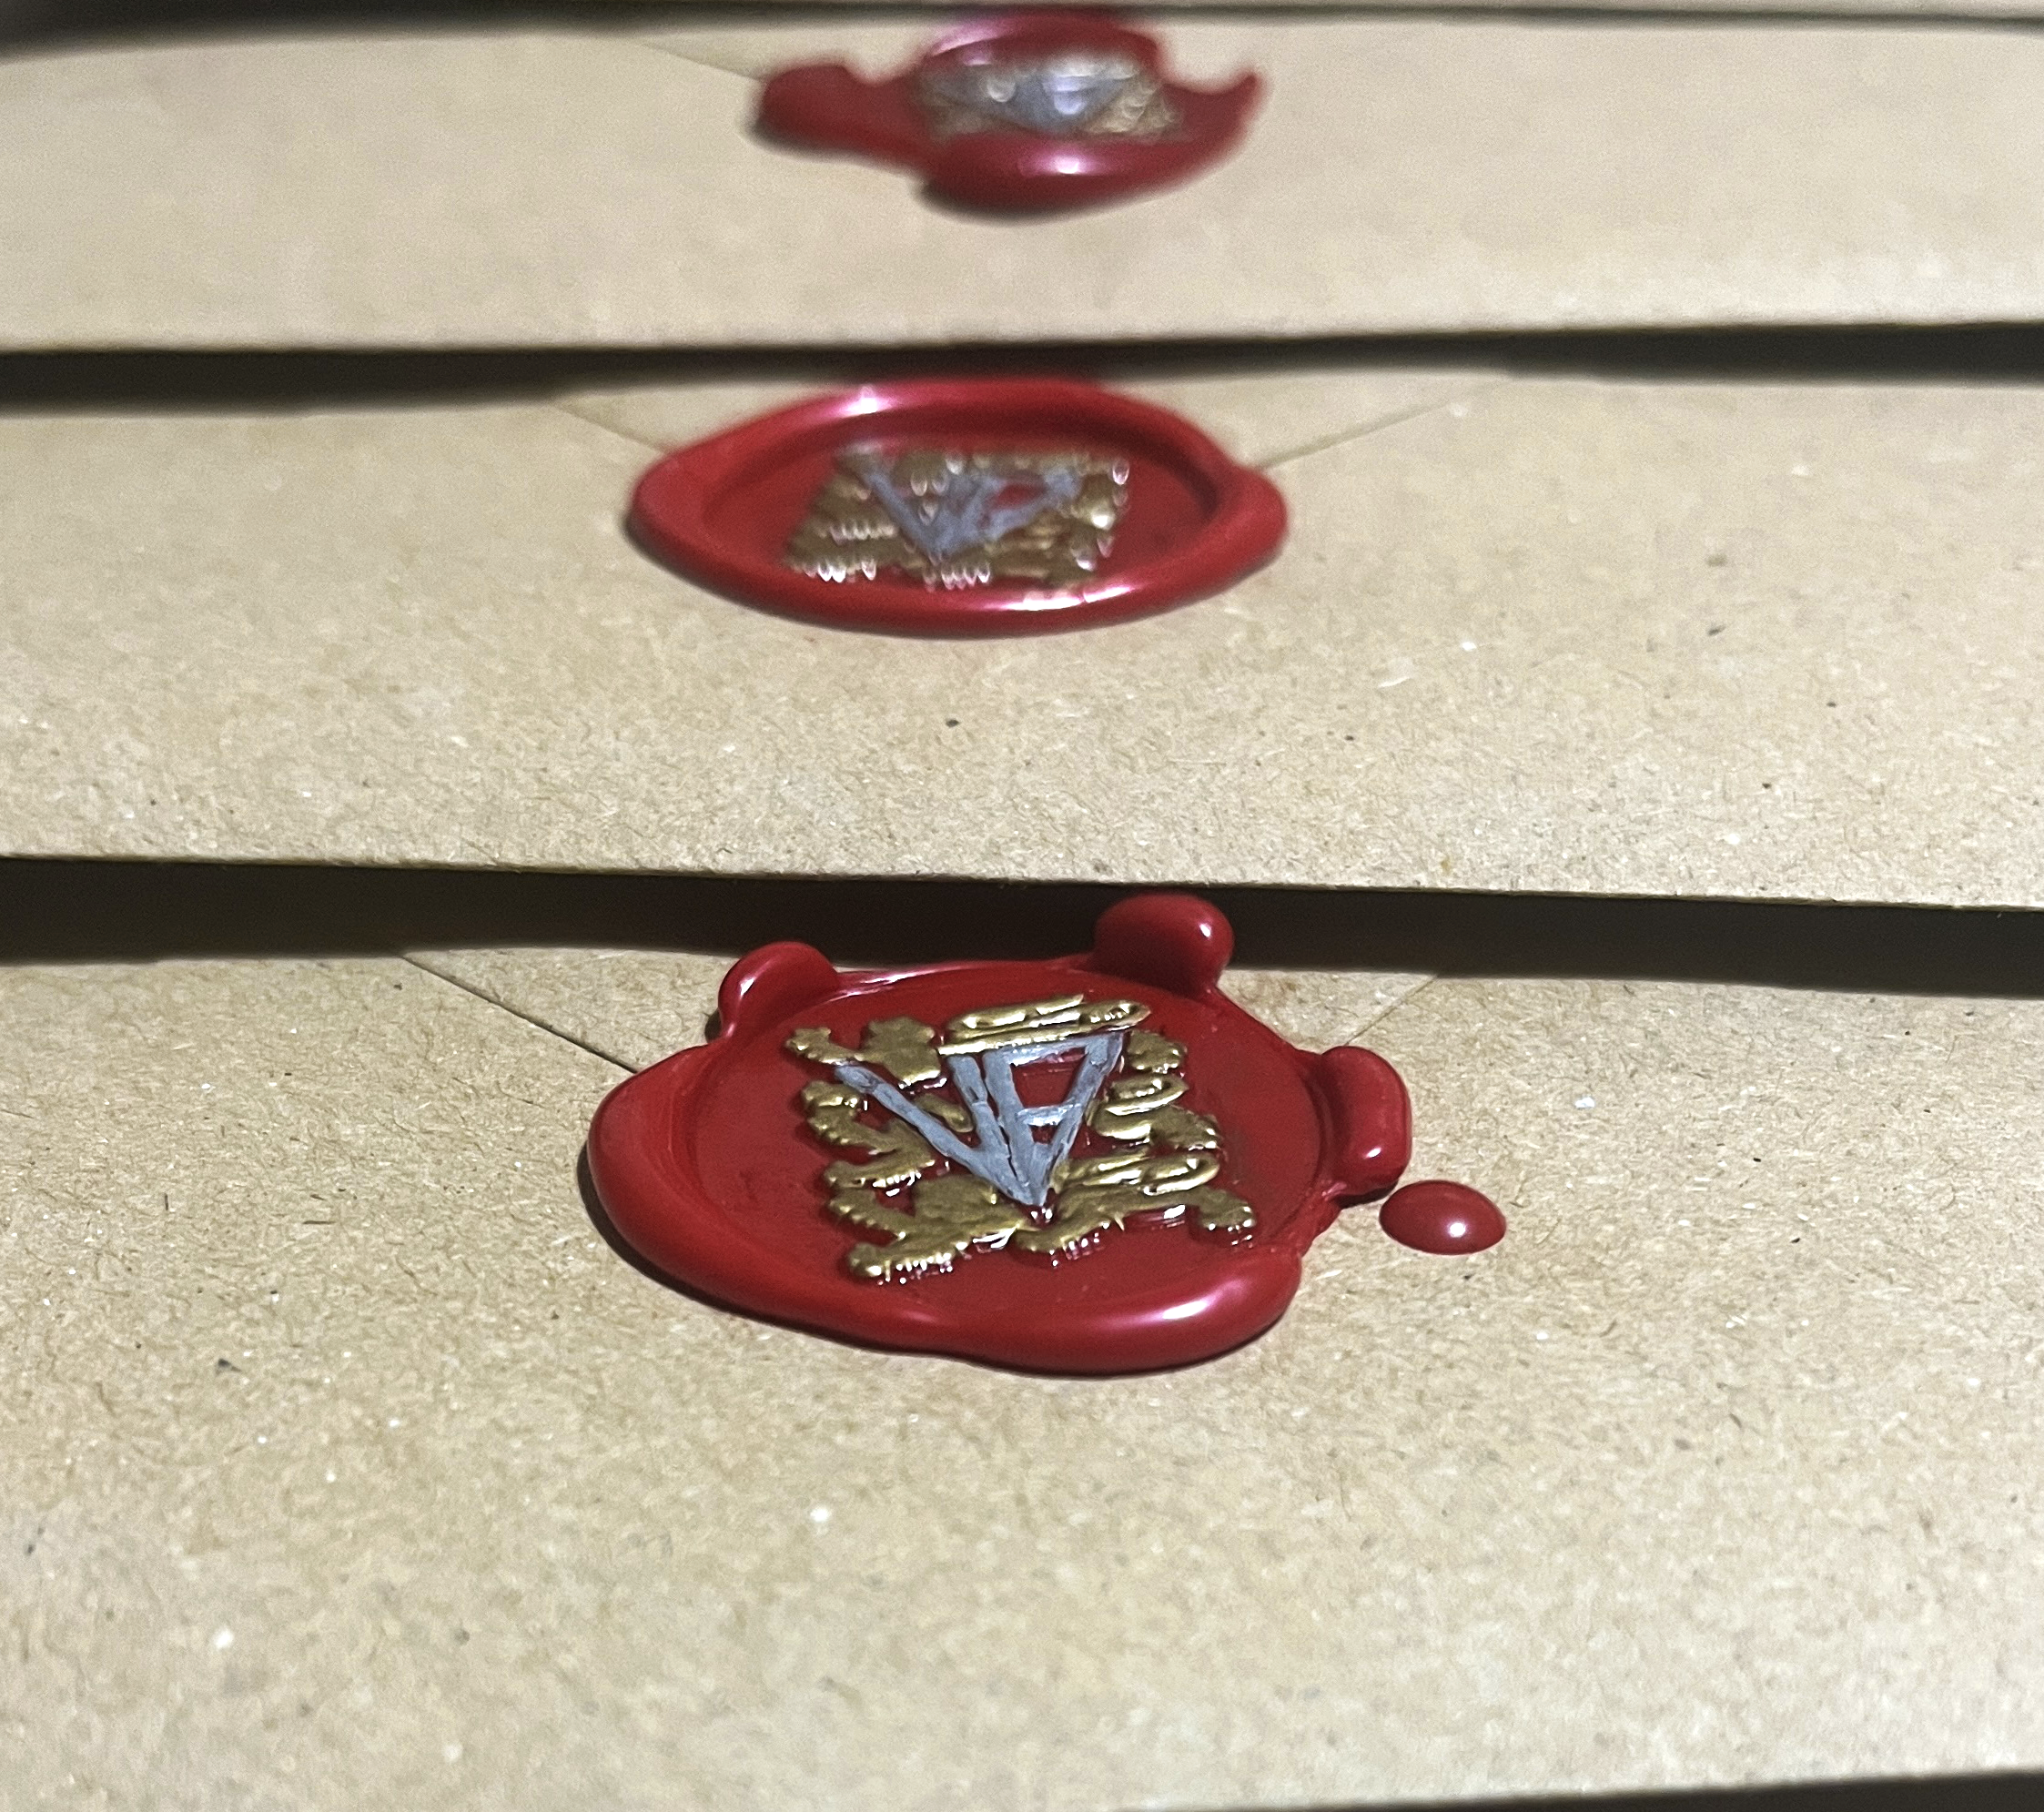 Wax sealed envelopes ready to be shipped out!
There’s something magical about receiving a card; it’s a physical and eternal representation of the time and effort someone spent on you. When I left the US last year to complete my Masters in Math at Oxford, a lot of friends would say “don’t forget to send us a postcard!” I wanted to live up to that promise – with my own twist on it.
I was walking with a friend through the city and I found a stationery store that was selling wax seal kits. This was exactly what I needed: an excuse to avoid writing my dissertation. I fell in love with the idea, but I didn’t like how I would just buy a generic “V” stamp that anybody else in the world could have. I wanted to make it special; after a conversation with another friend, I embarked on a new side project – Sealed: Custom Wax Seal NFC Tags.
Part 1: Designing the Seal
Not only were the wax seal kits in the store generic, they were also a bit expensive (>$30!). I found a shop on Etsy that would make and ship my own custom seal to me for around $10, an absolute steal.
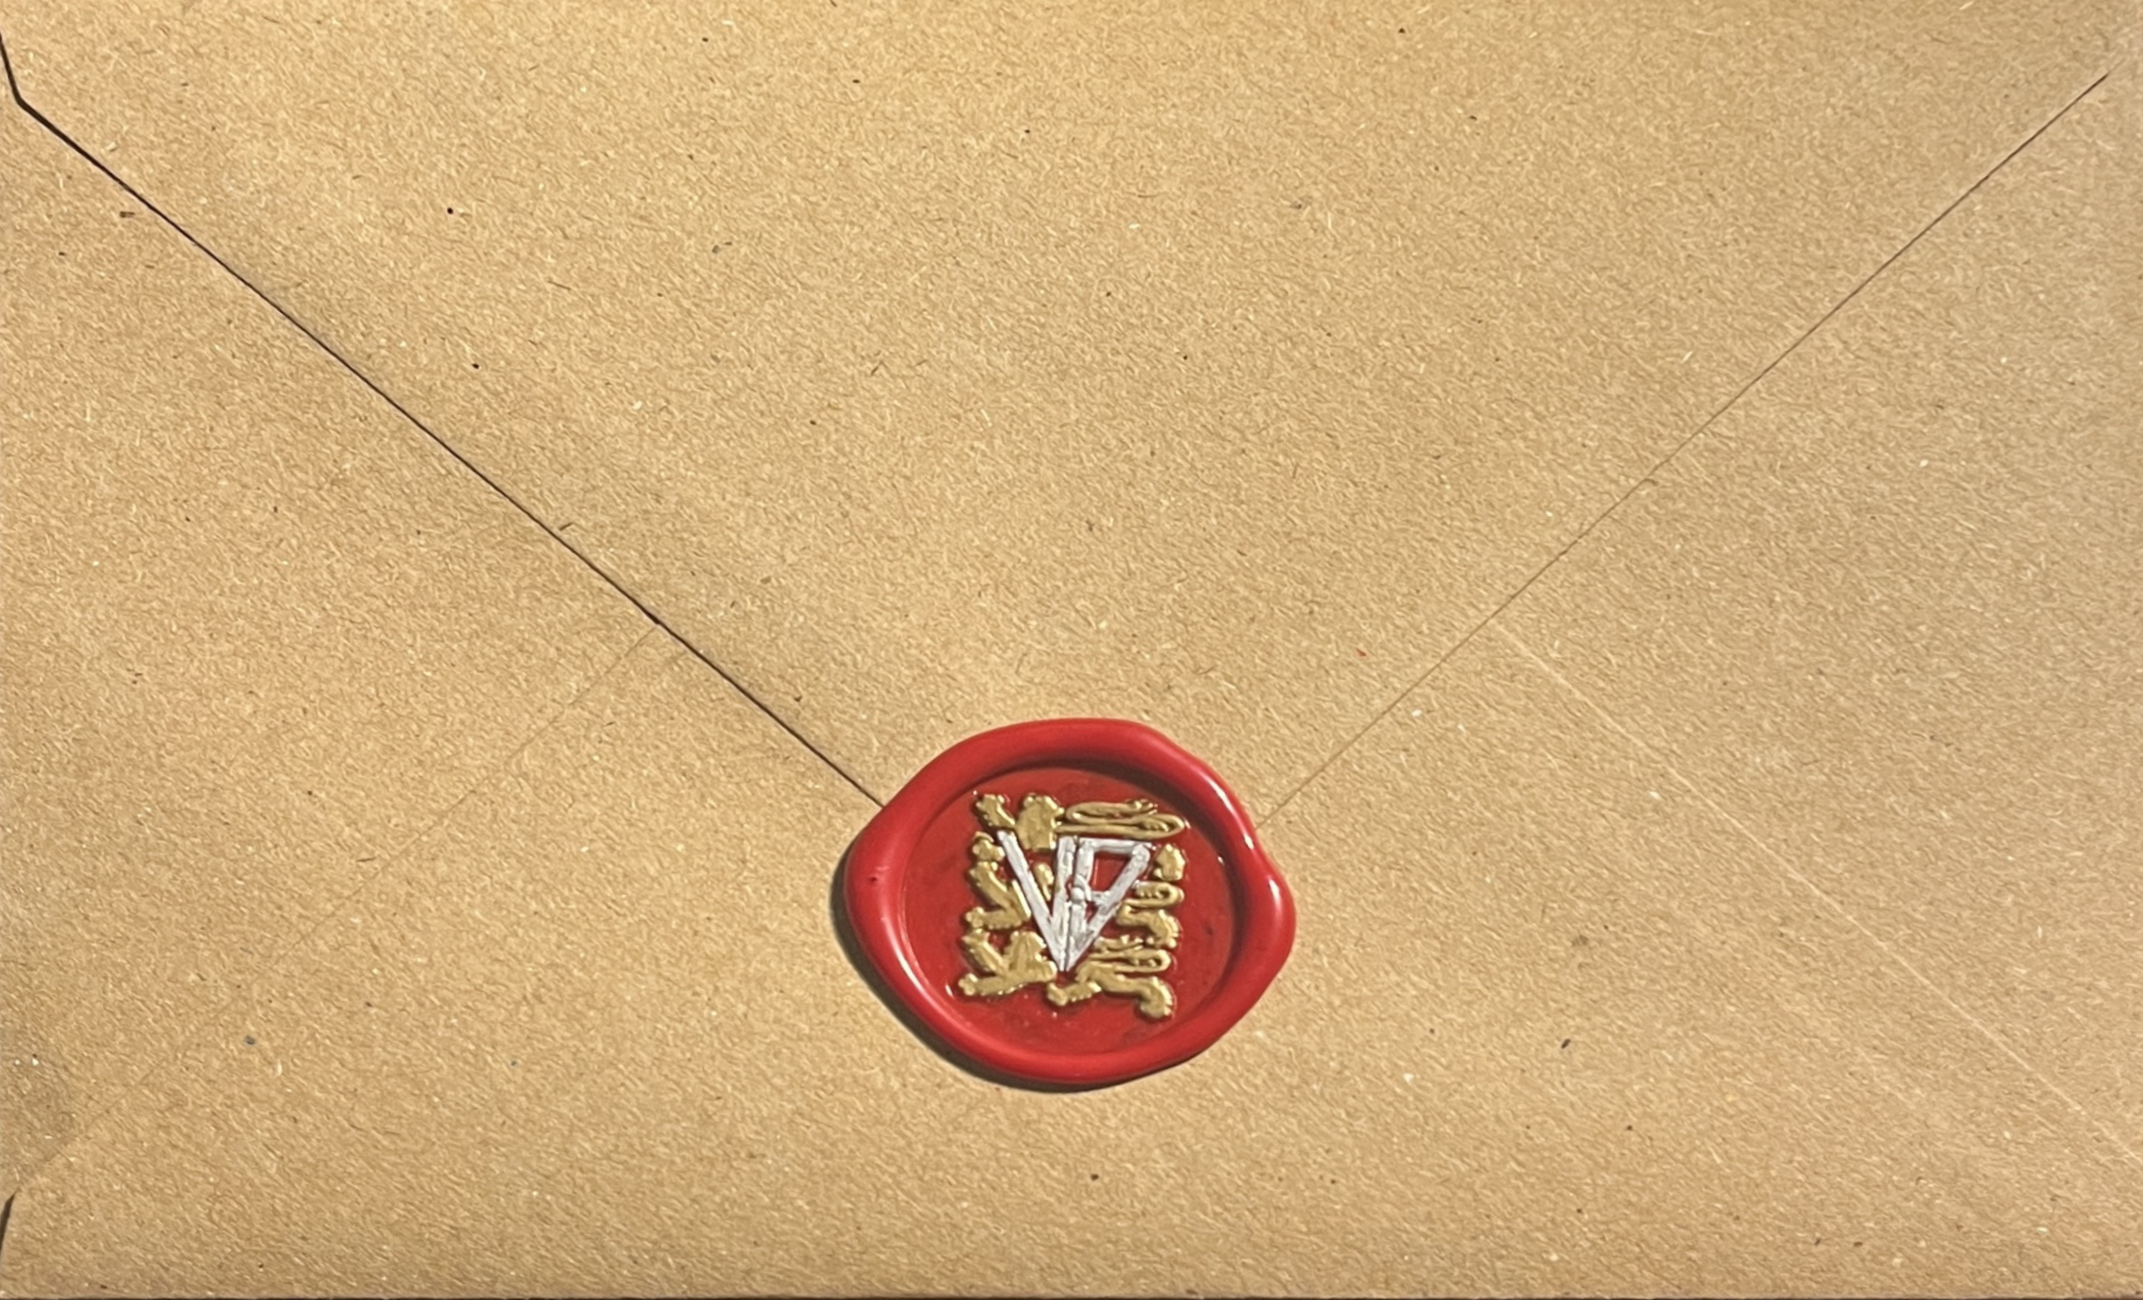
For my custom seal, I already had an existing logo from my website, but I wanted to add some flair. After tinkering, I settled on this design:
![]() The logo I designed and used.
The logo I designed and used.
The background has three lions from my college’s (Oriel College, Oxford) crest. This is where the lore started getting better – what if whenever I sent letters, the wax seal would embed information about the event/where it’s from? So if I send a wax stamp while I’m in NYC, the stamp would have skyscrapers in the background instead. This way, it becomes a souvenir that people can collect. There’s another easter egg in this logo that I won’t put here, but reach out to me if you’re curious!
To make the wax seals pop, I bought metallic sharpies and golden mica dust. The mica dust ended up more in my lungs than on the seals, but the sharpies worked great. I put it all together and did some trial runs, and it looked amazing:
 This seal came out picture-perfect! It took several tries to find the right balance for how much wax to melt.
The design I originally sent in for the stamp had an issue with the masking, which drives me crazy to look at now, but it’s one of those things you don’t notice until it’s pointed out to you (no, I won’t point it out). We’ll just say it adds ✨character✨.
Part 2: Integrating NFC Tags
My friends and I have always wanted to use NFC tags1 for an interactive photo album. Sadly, this is another side project that has yet to come to fruition, so I was worried that by ordering more tags, they would just collect dust in my closet again. Luckily, this wasn’t the case.
The big question: does melting wax over NFC tags melt them/impede functionality? Thankfully, no. Though, I think I bought poor quality tags because they were a little finnicky and take a few taps with your phone angled the right way for it to trigger.
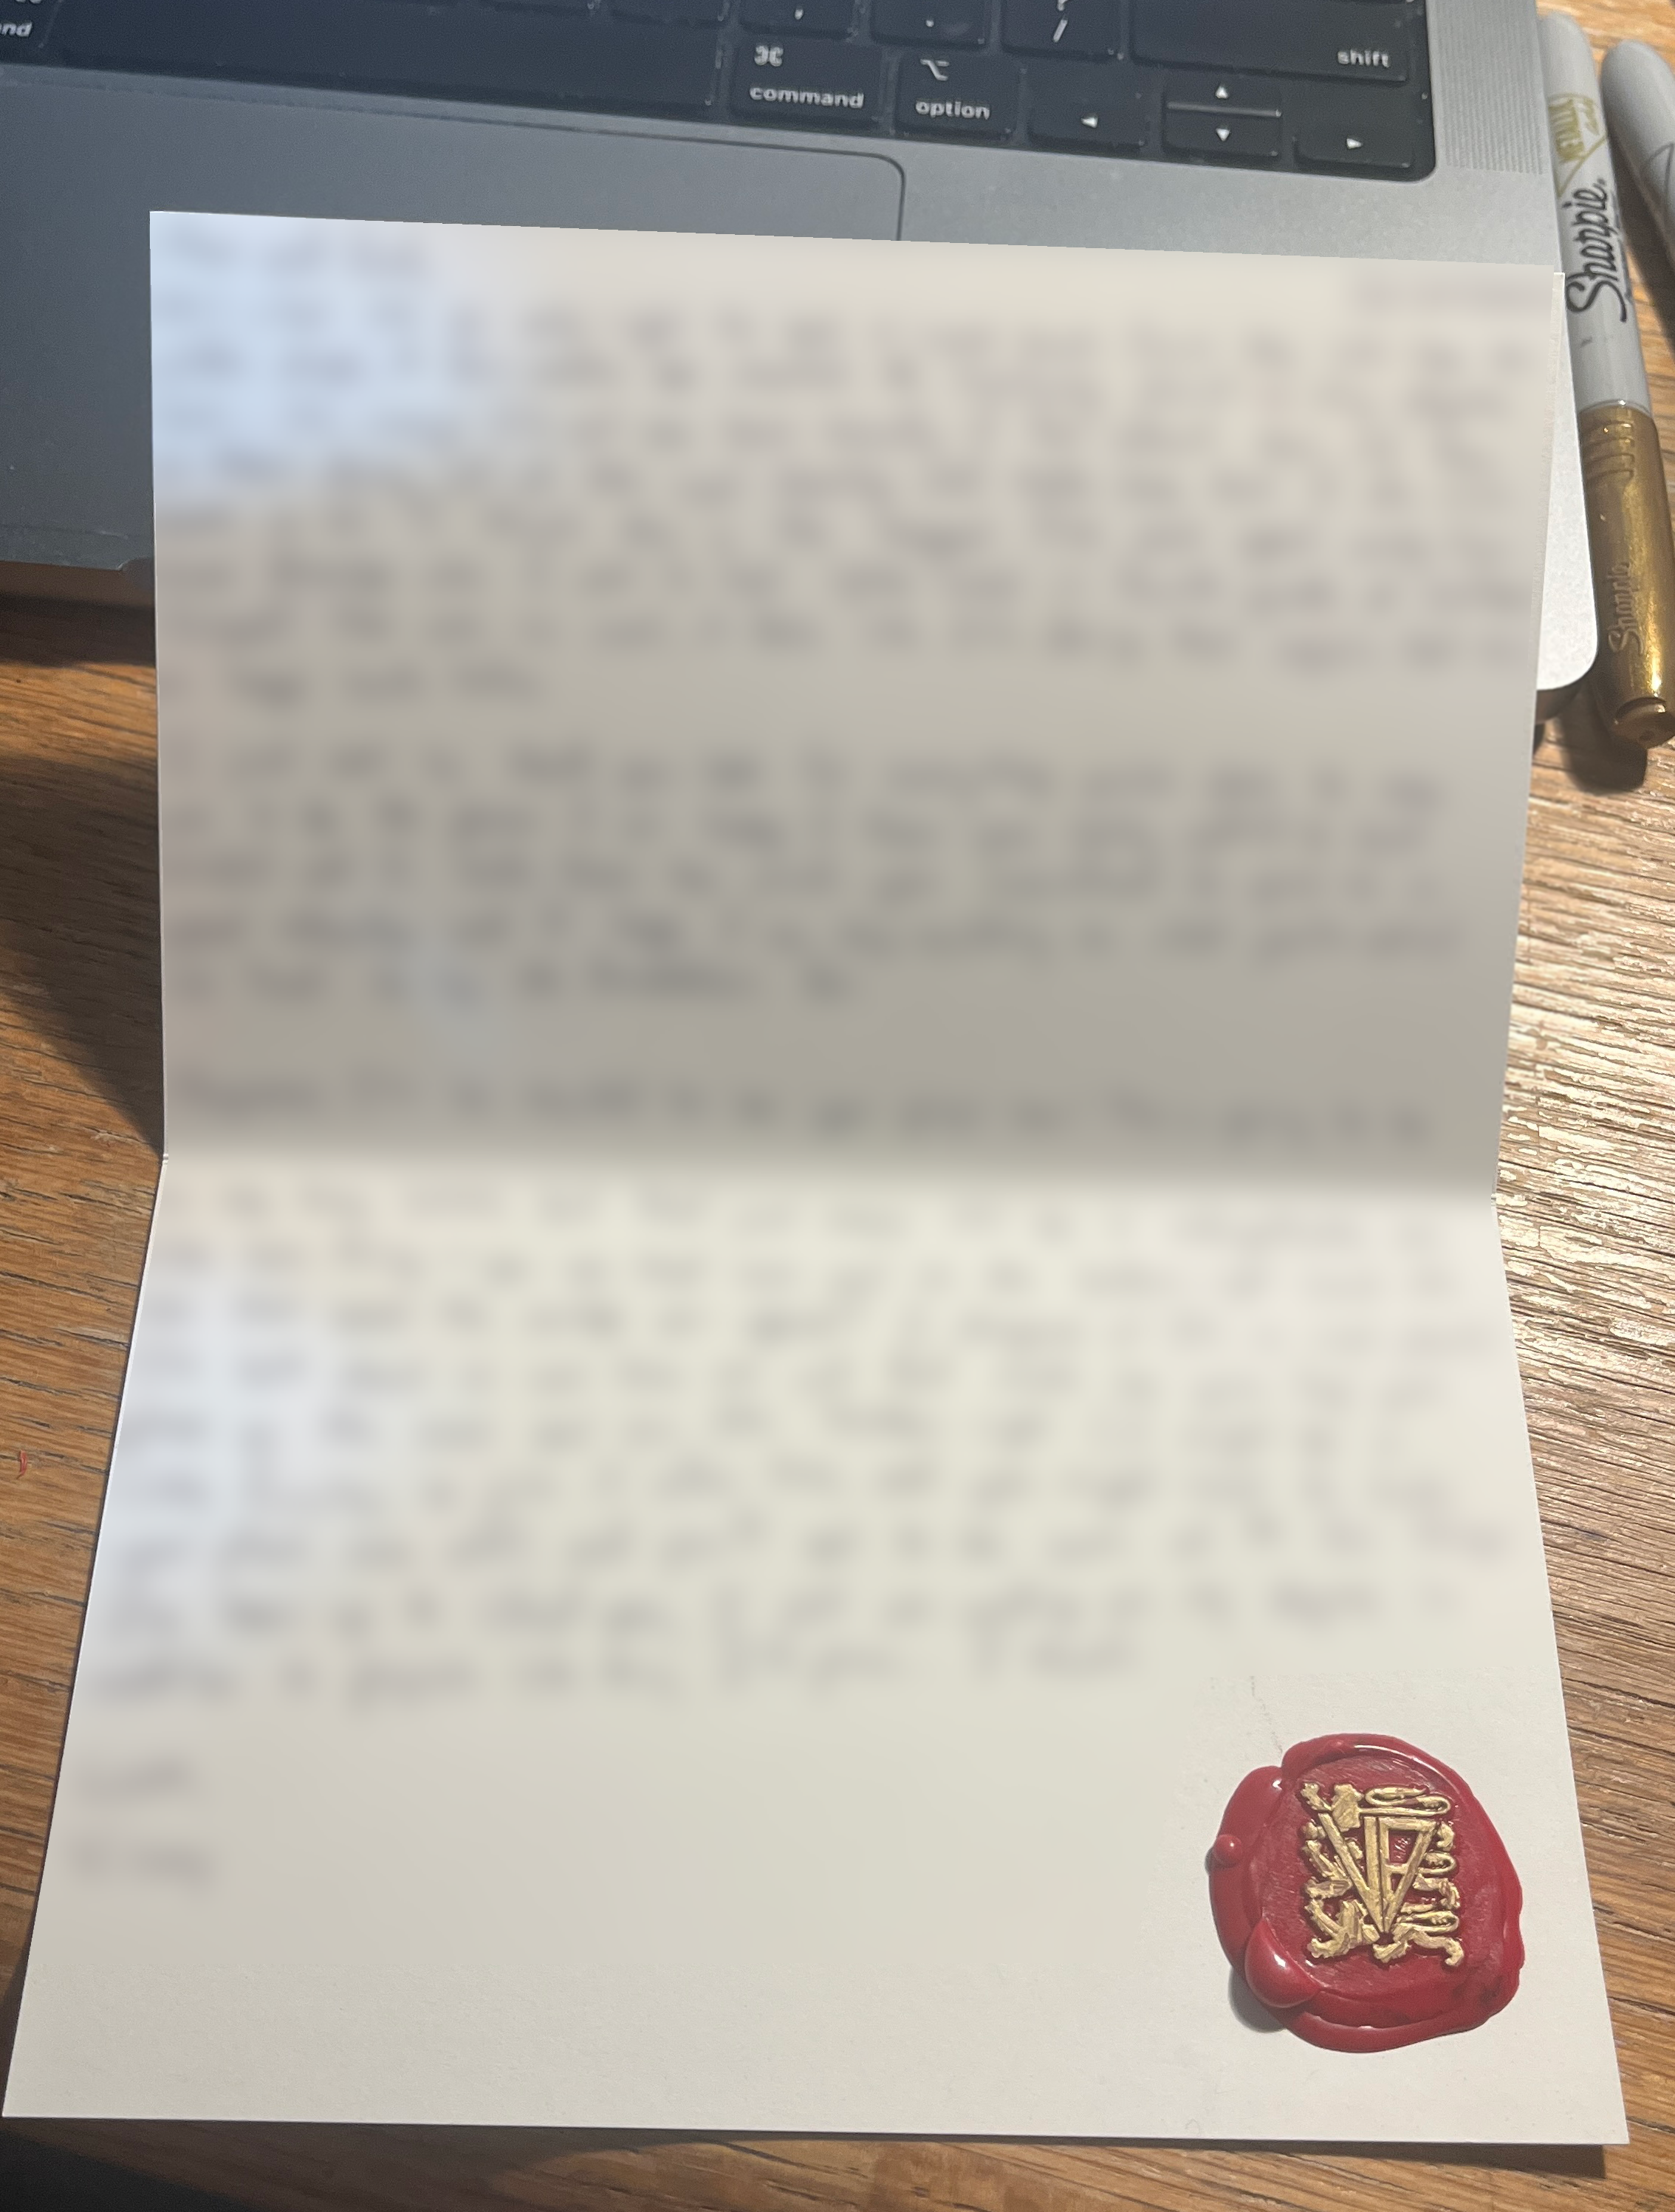 The inside of a card. Each letter had two seals; one for the outside of the envelope and one for inside the card, which had the NFC tag. You can see that the wax seal juts out a little bit due to the thickness of the NFC tag.
I then linked the NFC tags to a website I made that hosted photos from my time abroad.
Part 3: Building a Secure Photo Tiling Website
Making the website turned out to be less straightforward than I thought it would be. There were a few constraints I had for the project:
- Display my pictures as tiles with captions on certain pictures
- Keep the website under my main domain and stick with Github Pages
- Be secure without having my pictures being publicly available online. My pictures aren’t anything sensitive, but in the age of AI where bots scrape the web for training data, having at least some protection would make me feel better.
The first bullet point was easy, I found this package for tiling photos. I put some custom CSS and made it look nice.
 The (blurred) website with custom pictures/videos and captions on certain tiles.
The problem was that the second and third bullet points were in contention. Hosting it on Github Pages meant it would be a static website, but then any images would be public (images would be sent to the user with a request to the page or the url to the image would be in the source code).
One option was to password protect my webpage, though I would have to make my website dynamic and have a server. Maybe I’m stubborn, but I don’t want to do this. It adds to the maintainability of the website, and I like how everything is already hosted on Github Pages.
Another option would be to use a custom Google Photos album or something alike. This still isn’t hosted on my website, but at least there’s not much to maintain. I don’t like this option either though; I had a particular vision for how the images and captions would be displayed, and if I wanted to customize it more in the future or put something else linked on the NFC tags, it’s more straightforward if I have the architecture on my own site.
After some research, I came across Staticrypt. This was so interesting – it uses AES-256 encryption for a static website; the password you enter is used as a key to decrypt an encrypted webpage that was stored on the site.2 Pretty cool!
The last issue was with images. I couldn’t host the images on Github Pages, because then they’d be served on the webpage and could be scraped – even if I used Staticrypt. Instead, I put the pictures in an S3 bucket and used the links, which would also be a part of the encrypted source code. This way, no images would be sent to the user until the website was decrypted and reloaded.
There were some other details like compressing the images and videos so the website didn’t have horrible lag. I also modified the Staticrypt code a bit to suit my needs (I won’t dive into that here, because, well, that kind-of defeats the purpose of security measures, right?). The end result is a decently secure website that people can access with a specific password – it’s not the state-of-the-art, but gets the job done.
I then wrote a bunch of letters on Oxford-themed greeting cards and trusted Royal Mail from there! I’m pretty happy with how this project turned out, and hopefully this is the start of a tradition of mailing letters 😁.
-
In case you’re unfamiliar with them, they’re cheap pieces of electronics in plastic that embed data that your phone can read from nearby. ↩
-
I took a cryptography class in high school and had to implement AES-256; while I’m pretty sure my code was neither correct nor secure back then, it’s cool how it’s become a full circle moment. ↩